

Create an AWS Account for Demos
To run the examples presented in IT Wonder Lab you need accounts in different cloud providers.
Most providers offer a free tier or some demo credits to test their services. Be aware that running the examples might cost you money.
Visit aws.amazon.com/free to understand what AWS includes in its free offer. The conditions change over time (for example, with credits for new accounts), so read the current terms.
Create an E-mail Account for Signup #
Create a new email account or an alias that will be used to sign up for AWS. For demos, I like to use a group e-mail address so I can delegate access and I can show the group mailbox instead of a personal email account.
Signup for an AWS account #
Visit AWS Console – Signup
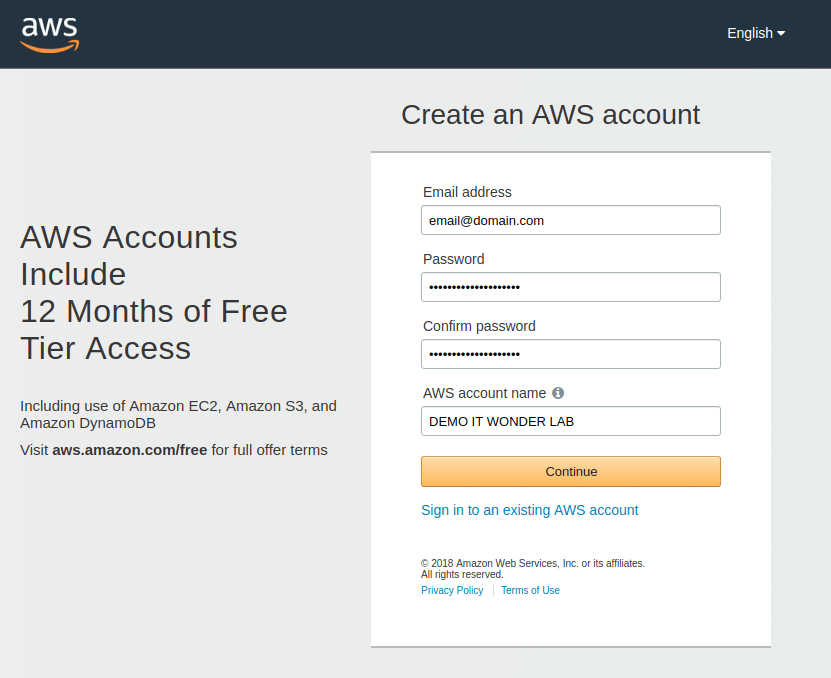
Provide the e-mail account created earlier, a complex password, and a name for the AWS Account. Press Continue.
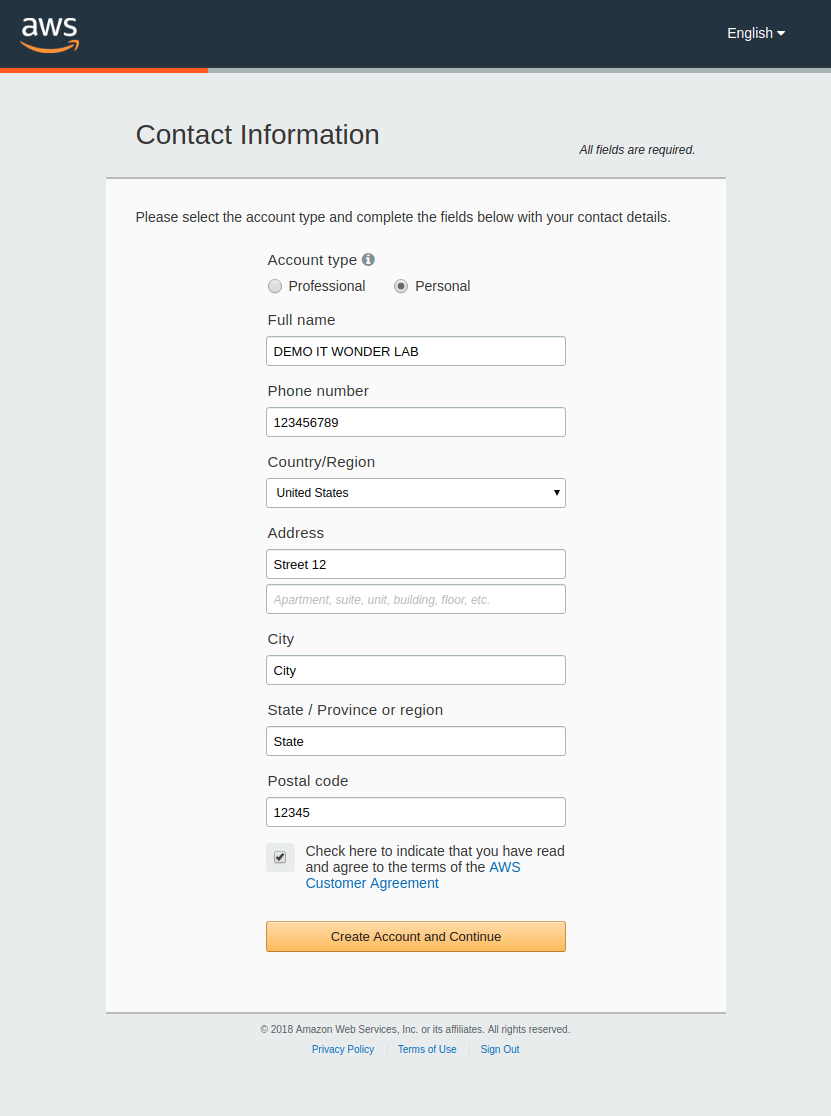
Select the Account type, choosing between Professional or Personal. Fill your name, phone number, country, and full address. Read the AWS Customer Agreement, Press Create Account, and Continue.
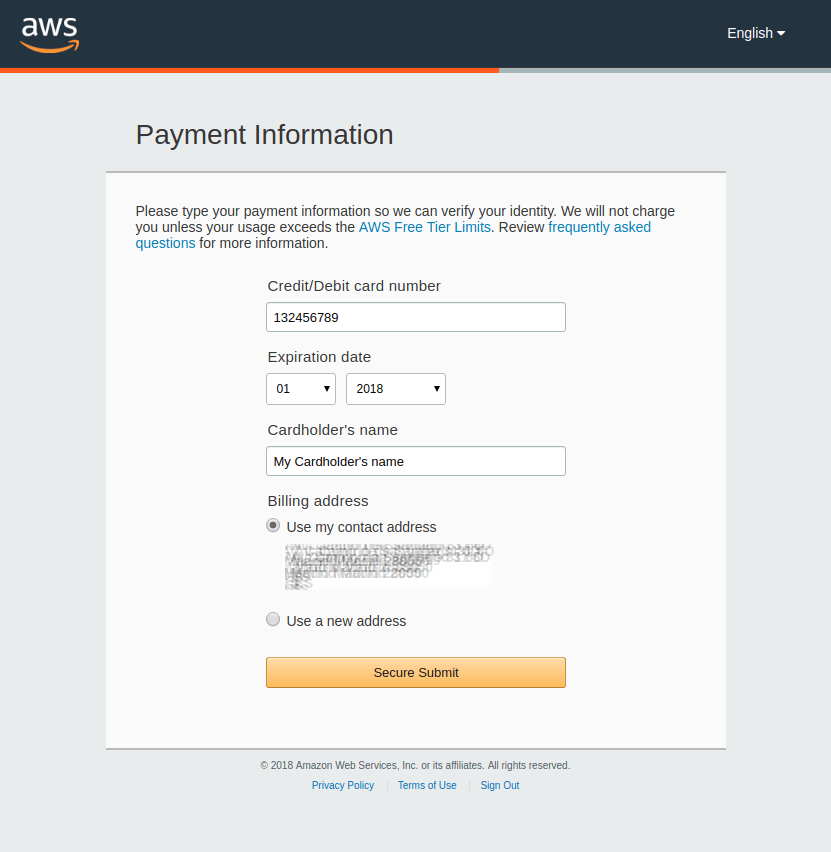
Fill your credit card number, expiration date, and cardholder’s name. Press Secure Submit.
AWS makes a small charge to verify the credit card. The payment information will be used in case the usage exceeds the AWS Free Tier Limits.
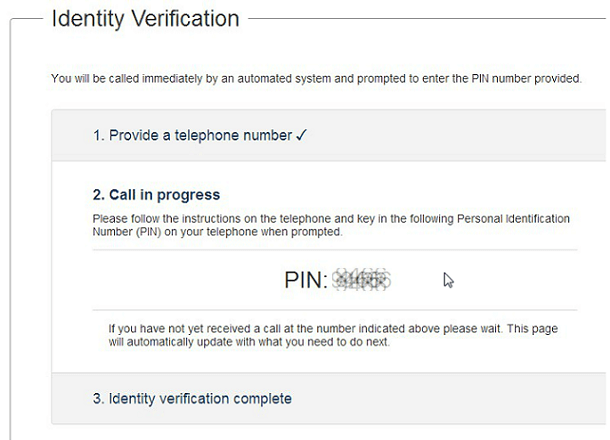
Review the Phone Verification information and fill in the Security Check captcha. AWS will show a number on the browser screen and will ask for that number using a phone automated system. Press Call Me Now.
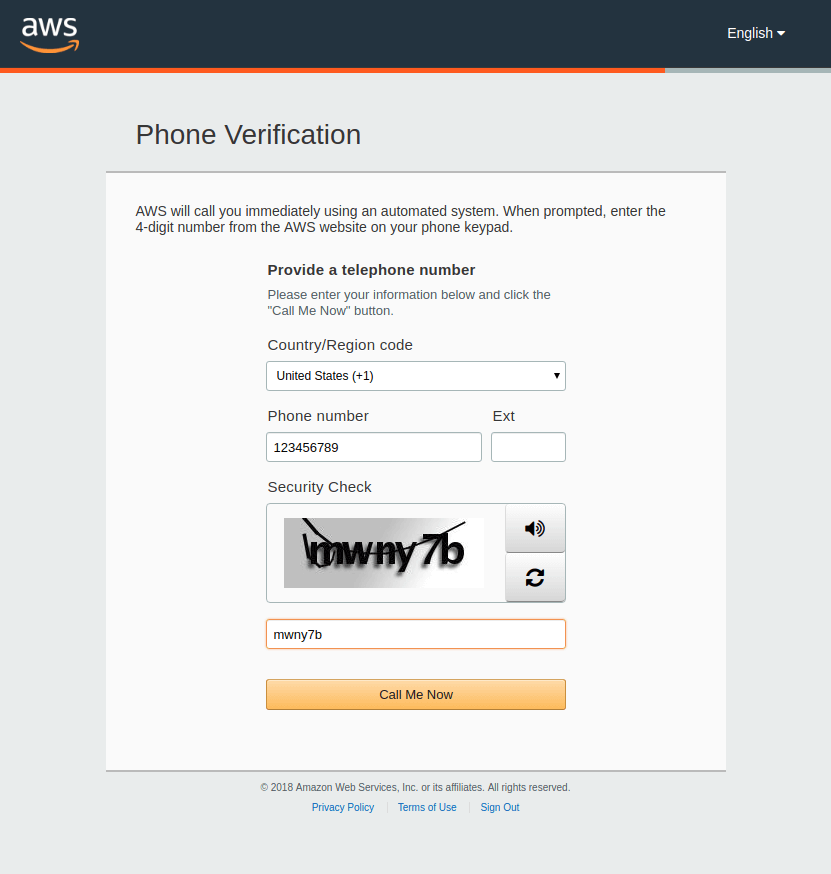
AWS will call the provided phone number and will ask for the number shown on the screen. Key in the number shown on your screen.
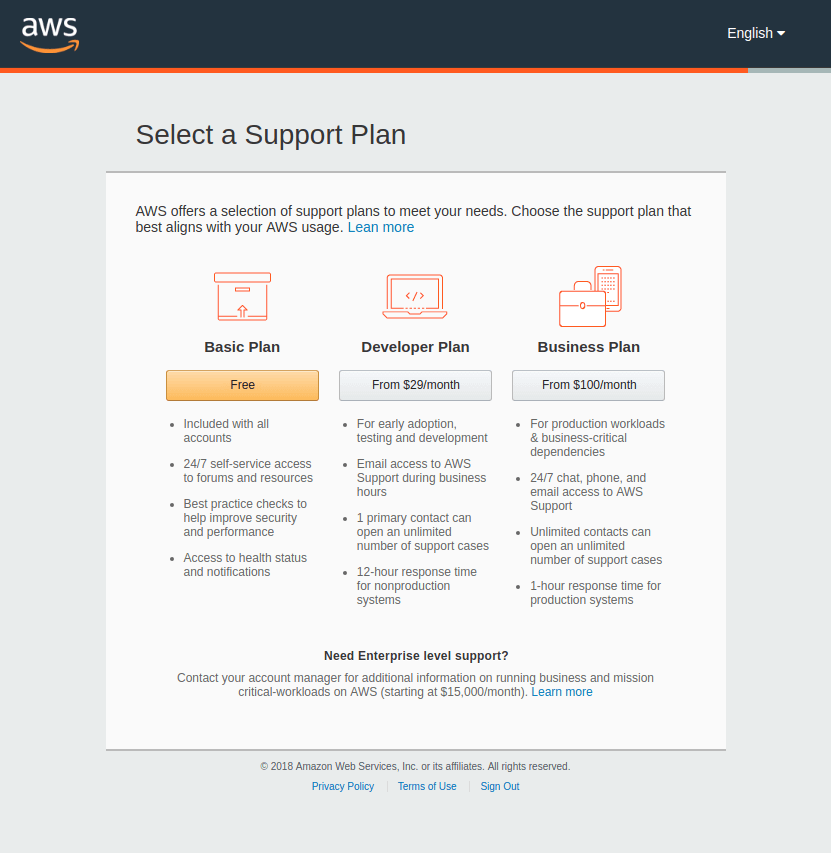
Select the Support Plan, the Basic Plan is free and is included in all accounts. Press Free.
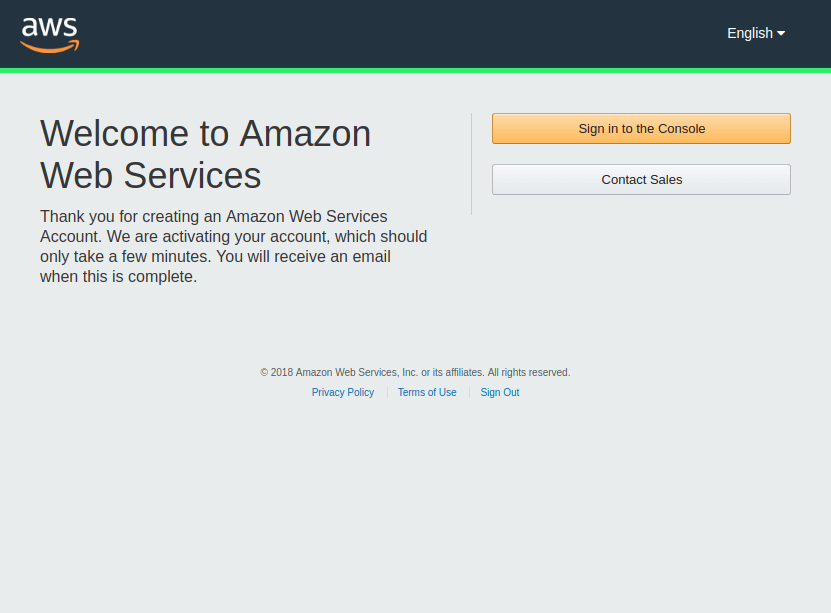
Everything is ready, and AWS shows a Welcome Screen. Press Sign in to the Console.
Sign in to the AWS Management Console #
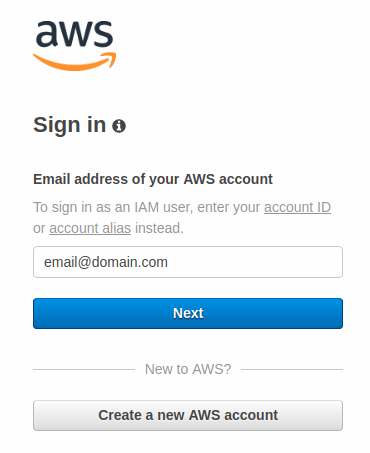
Sign in to the AWS Management Console using the email address of your new AWS account.
Fill in the e-mail address and press Next.
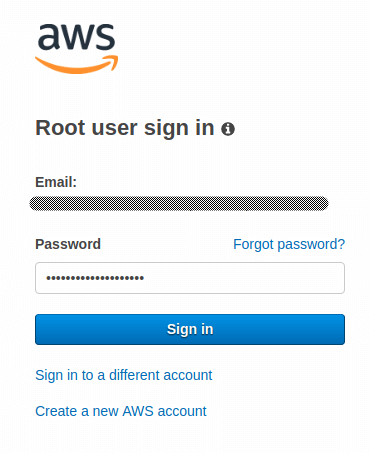
Fill in the password and press Sign in.
Get the Account ID #
Expand the menu with the name of the Account, in our example “DEMO IT WONDER LAB” and select My Account.

The Billing Management Console shows the Account ID along with the Account Name. You will need the Account Id for programmatic access.
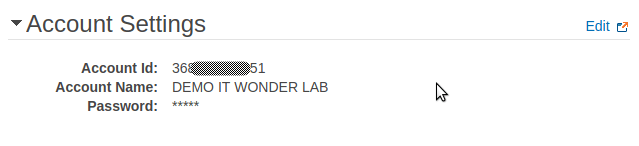
Keep the Account ID safe and make sure that you do not upload it, or any access key, to a public repository. An access key ID and secret access key can be used to buy services from AWS that will be charged to your account.
Secure the new account #
- Enable multi-factor authentication (MFA) for the root user, and do not use the root user for daily work.
- Create an IAM user (or use IAM Identity Center) with only the permissions that you need, as shown in the next tutorial.
- Create a budget with alerts in the Billing console, so that you are notified before a forgotten resource becomes an expensive surprise.
Next steps #
Create an IAM user for the demos, Create an AWS IAM User for Demos, and use it with Terraform and OpenTofu to create AWS infrastructure, like:
-
Terraform AWS EKS Cluster Deployment & Application Publishing through ALB
-
Terraform AWS ECS Fargate Cluster Deployment & Docker Container Publishing
Explore other AWS Tutorials.